Riding essentials
How to choose the right classic helmet shape and size
A practical guide to choosing a classic motorcycle helmet by certification, head shape and real-world fit—so style never comes at the expense of protection.
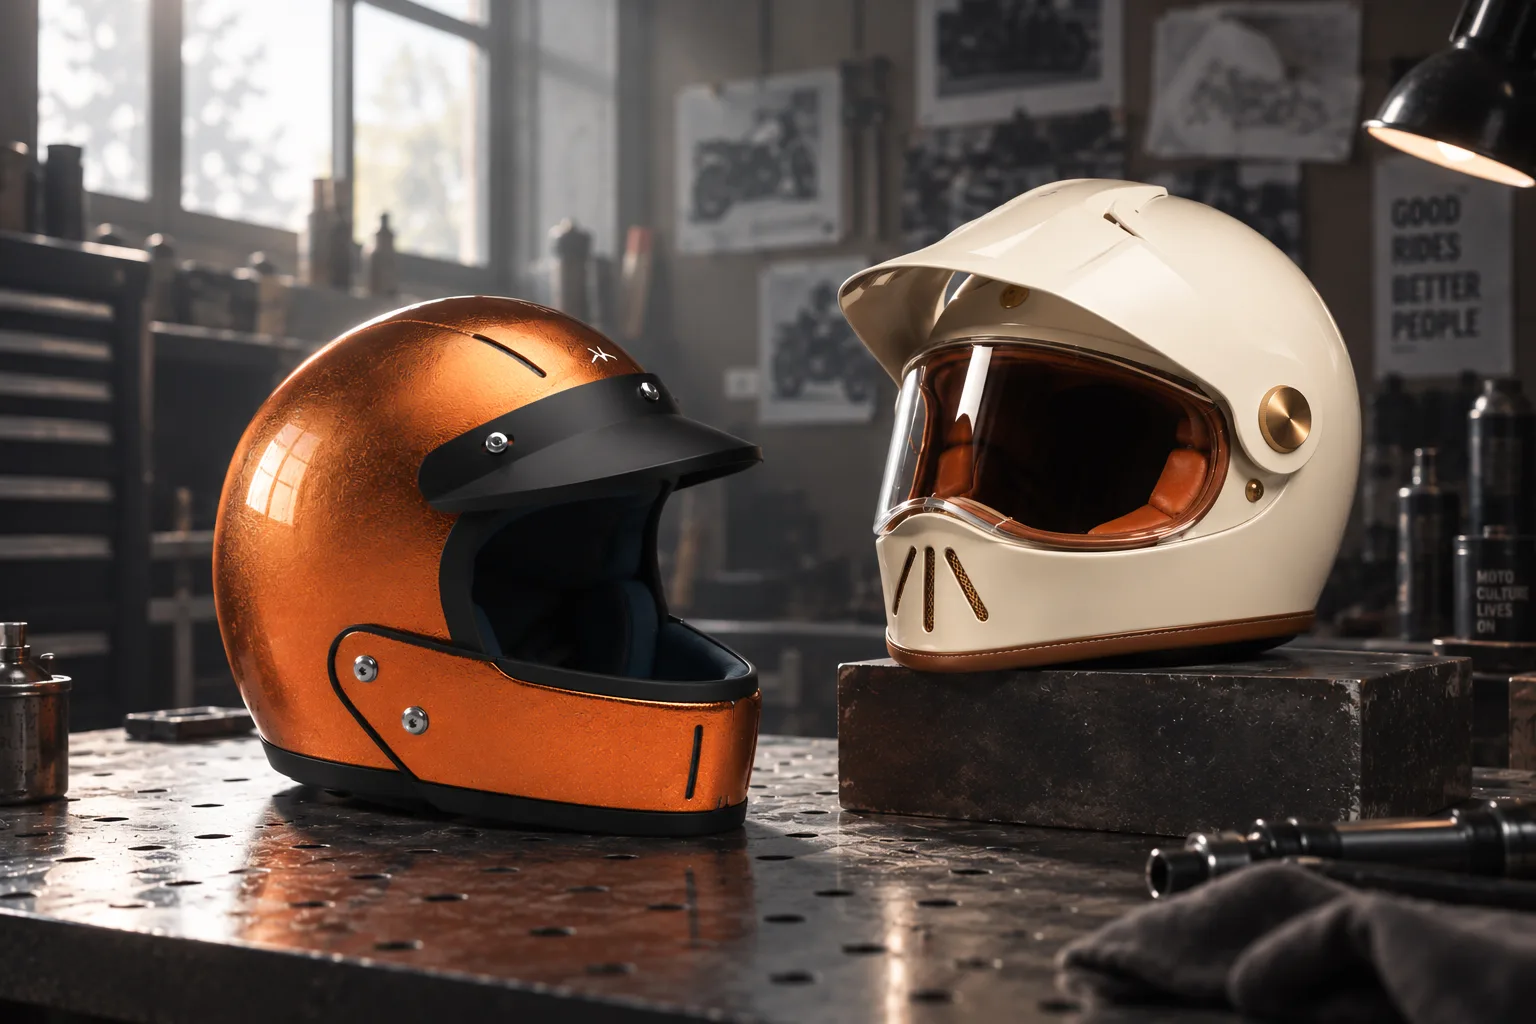
A beautiful helmet earns its place only when it is made for your ride, carries the right certification and stays correctly positioned on your head.
Classic helmets are objects we live with: part protective equipment, part daily ritual, part expression of taste. But finish, paint and silhouette should come after the questions that matter most. What is the helmet certified to do? Does its internal shape agree with your head? Will it remain stable when the road is less forgiving than the showroom?
This guide gives you a repeatable way to answer those questions before you buy—and before your first ride.
A good helmet works as a system
Protection does not come from one premium material or one impressive feature. The outer shell spreads load and resists abrasion; the energy-absorbing liner manages impact; the retention system keeps the helmet where it belongs; coverage protects the areas the shell actually surrounds; the visor or eye protection preserves vision; and a comfortable, stable fit helps all of those parts work together.
Carbon fibre can reduce weight while providing a strong shell, but material alone does not tell you how well a helmet fits your head, how much of your face it covers or which tests that exact model has passed. Read the complete helmet, not a single specification.
1. Choose coverage for the way you ride
A full-face helmet surrounds more of the head and adds protection around the face and jaw. For higher speeds, longer rides or riders who want the most coverage, that is the clearest starting point. A well-designed shield can also reduce wind, insects and debris reaching the eyes.
An open-face helmet trades some face and jaw coverage for airflow, openness and a classic field of view. That can suit particular rides and preferences, but the exposed areas remain exposed in a crash. If you choose an open-face design, make that trade-off consciously and pair it with appropriate eye protection.
Modular accessories only count when the manufacturer approves the configuration for that helmet. A removable peak, shield or chin piece should never be assumed to change the helmet’s certified level of protection.
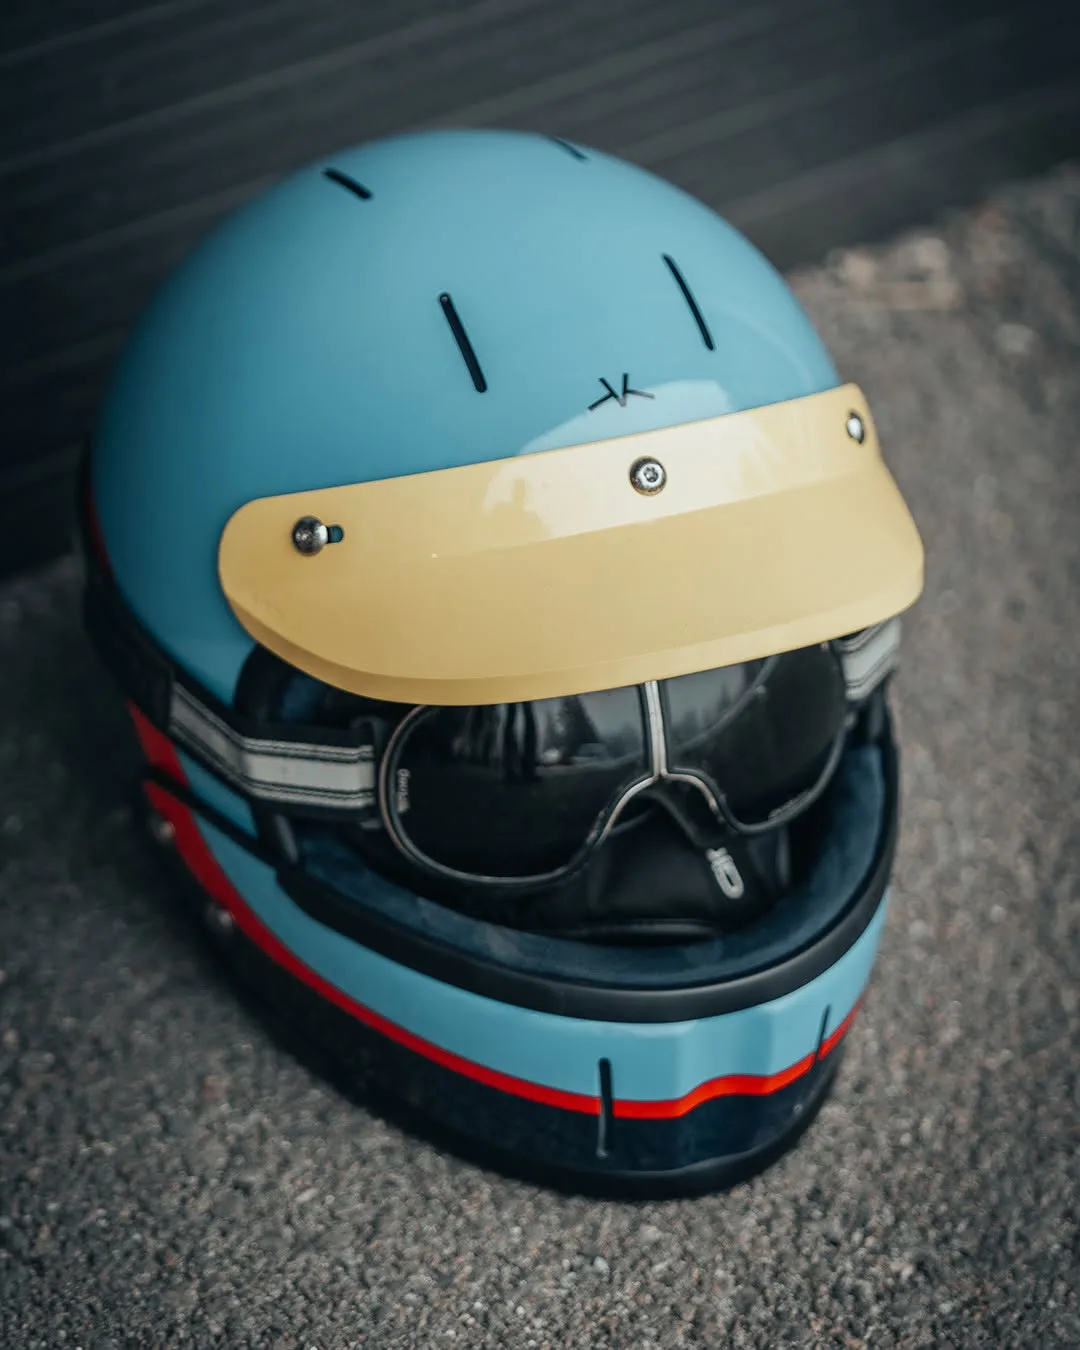
2. Read the certification label—not the marketing
Choose a helmet certified for the activity, road use and market in which you will ride. Standards such as ECE 22.06 and DOT evaluate defined aspects of motorcycle helmet performance, but they are not interchangeable badges for every activity. A bicycle or ski certification does not make a helmet a motorcycle helmet, and a motorcycle label should belong to the exact model and configuration in your hands.
- Find the certification label on the helmet itself and confirm it matches the exact model.
- Check that the certification is appropriate for your vehicle, intended speed and local requirements.
- Confirm that optional shields or chin pieces are approved for the way you intend to use them.
- Treat price, shell material and brand reputation as supporting information—not substitutes for certification and fit.
3. Size is a number. Shape is a relationship.
Head circumference tells you where to begin; internal shape decides whether a helmet can fit evenly. Riders are often described as having round, intermediate-oval or long-oval head shapes, but those labels are only a useful shorthand. Two helmets marked the same size can distribute pressure very differently.
A correct fit feels firm all around the crown without a sharp hot spot at the forehead, temples or back of the head. A concentrated pressure point usually signals a shape mismatch. Moving to a larger size may remove the pain, but it can also create a helmet that is too loose everywhere else. When that happens, try a different model or internal shape instead.
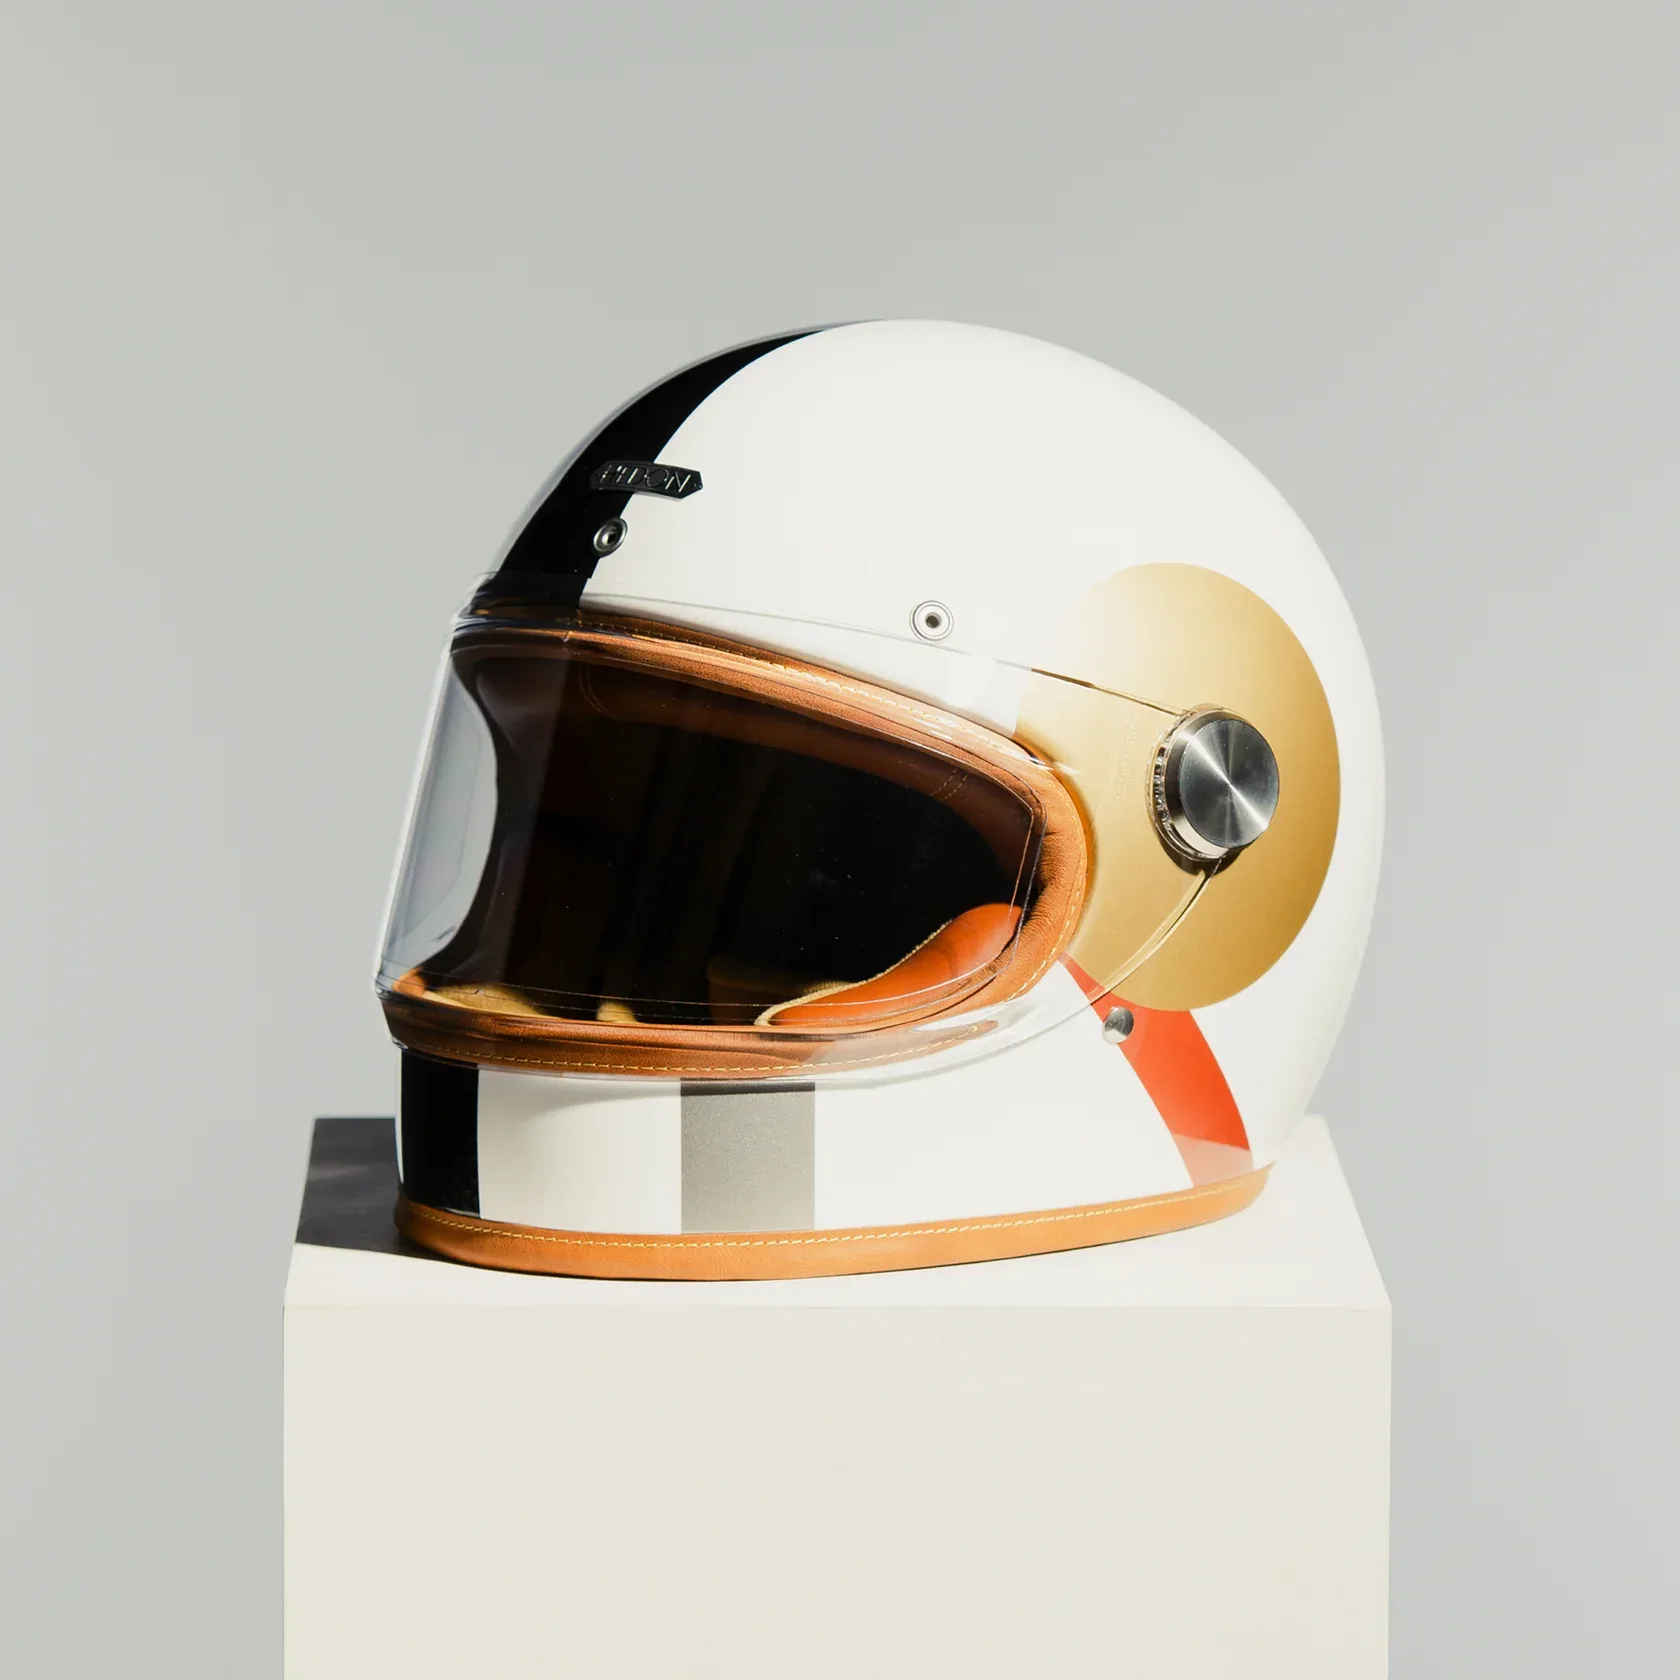
4. Measure before you compare sizes
- Use a soft measuring tape and keep it level around your head.
- Place it just above your eyebrows and around the widest part at the back of your head.
- Take the measurement two or three times in centimetres. Use the largest consistent result.
- Compare that number with the current chart for the exact model. Do not carry a size label from another brand—or even another model—across without checking.
Hedon’s official helmet size guide uses this same measuring position and recommends model-specific fit adjustments where compatible cheek pads are available.
5. Do a real fit test
Try the helmet with the liner, cheek pads, shield and retention system arranged exactly as they will be on the road. New comfort padding may settle slightly; the protective liner should never be crushed or reshaped to manufacture space.
| What to check | What good fit feels like | Warning sign |
| Crown and temples | Firm, even contact around the head | A sharp hot spot or a loose gap |
| Cheeks | Pads hold the cheeks and move the skin when the helmet moves | Little contact, or painful compression that does not ease |
| Stability | The helmet moves with your head when gently rotated | The shell turns independently or lifts at the rear |
| Retention | The strap sits securely as the maker specifies | The helmet can roll forward or come off when fastened |
| Time | Still secure and comfortable after 30–45 minutes indoors | Numbness, headache or a growing pressure point |
Perform the movement checks gently and follow the manufacturer’s fitting instructions. If you are unsure, a trained fitter can compare another size or model without guessing.
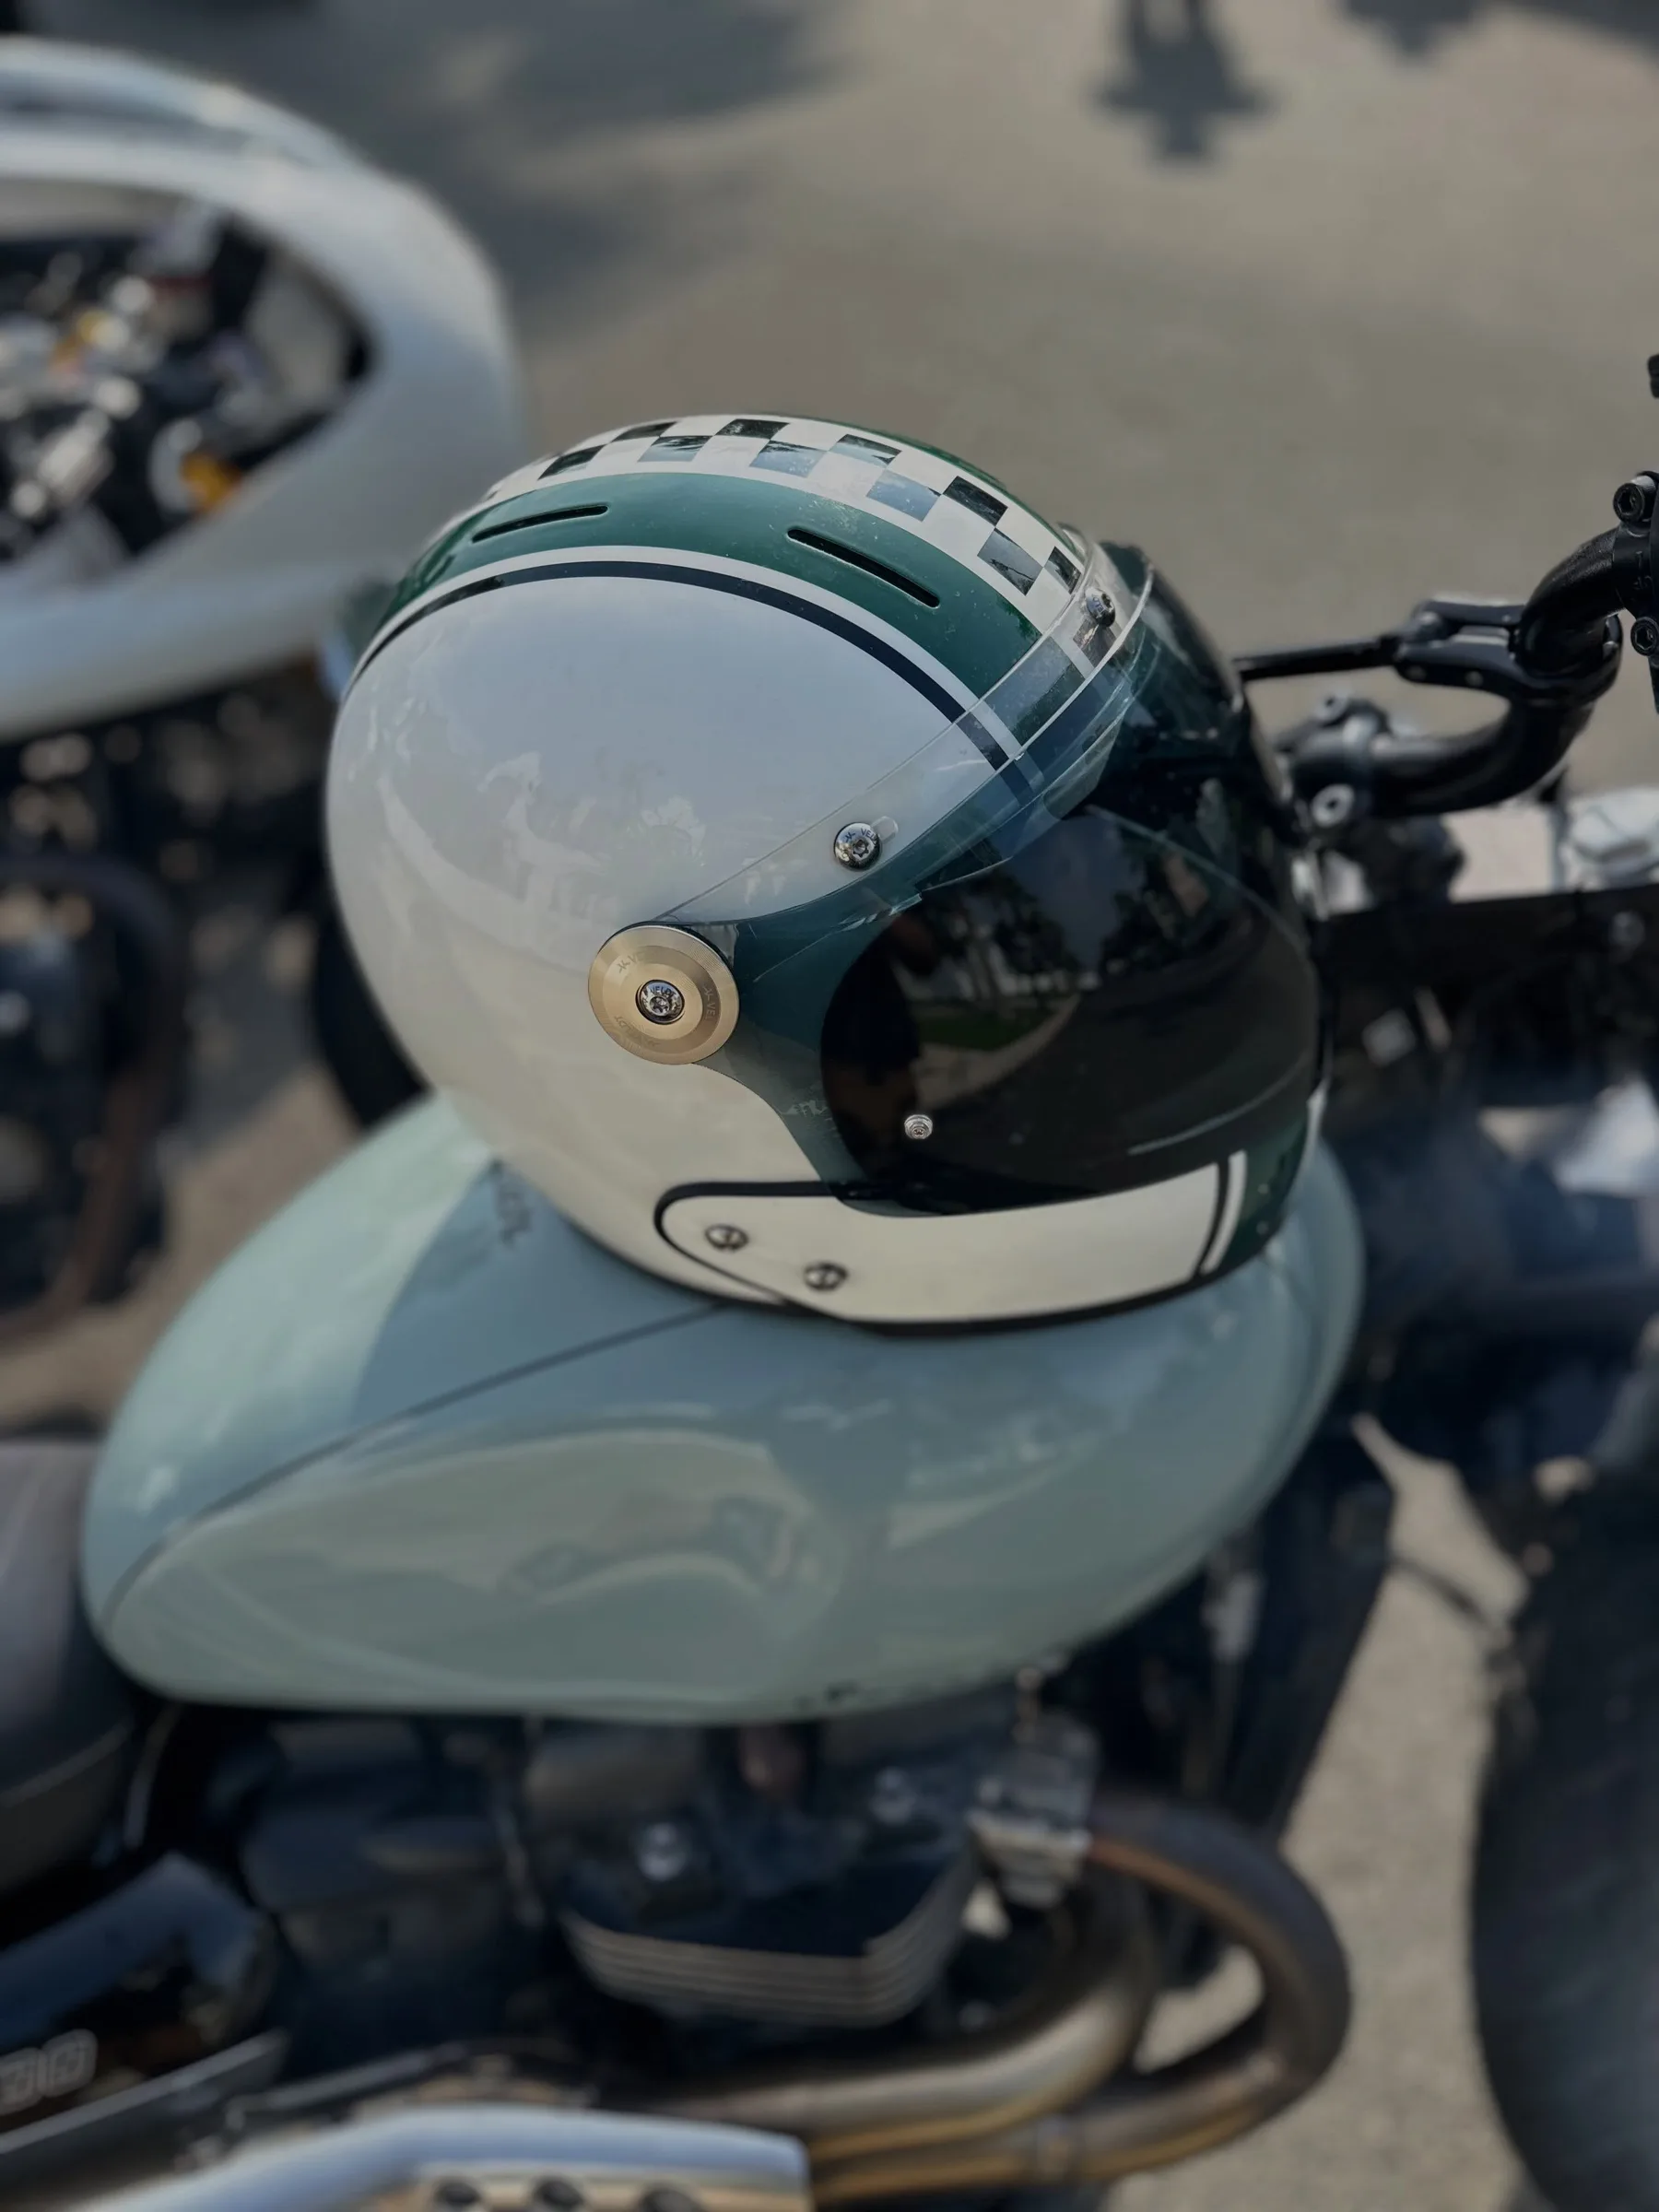
6. Adjust only what the helmet was designed to adjust
Some helmets use interchangeable cheek pads, crown padding or a manufacturer-designed adjustment system. These can refine a compatible fit; they cannot rescue the wrong shell size or an incompatible head shape. Use only parts approved for that model and keep the retention system adjusted according to its manual.
Never cut, sand, compress or remove material from the energy-absorbing liner. Do not drill the shell or add paint, solvents, stickers or accessories unless the manufacturer explicitly permits them. A visual finish is never worth changing a protective structure you cannot fully inspect.
7. Know when to walk away—or replace it
- The helmet remains loose after the approved adjustments are fitted.
- It creates a concentrated pressure point rather than firm, even contact.
- The retention system cannot hold it in the correct position.
- Its certification or intended use does not match your riding.
- It has suffered a significant impact, even when damage is not visible.
- The shell, strap, hardware or liner is damaged, degraded or altered.
- Its fit has changed with use, or it has reached the replacement interval in the manufacturer’s guidance.
A helmet can absorb impact through damage that is hidden from view. Do not continue riding in a helmet after a serious crash simply because the exterior still looks presentable.
Your pre-purchase checklist
- Right helmet category for the ride
- Certification confirmed on the exact model
- Head measured in centimetres using the model-specific chart
- Firm, even pressure with no isolated hot spot
- Stable shell and secure retention system
- Clear vision with the intended shield or eye protection
- Only manufacturer-approved fit parts and accessories
Choose the helmet you will wear properly
A classic helmet should make you want to reach for it, but its deepest value is quieter: it fits without distraction, stays where it should and gives every engineered layer the chance to do its job. Begin with use and certification, refine by shape and size, then choose the finish that feels like yours.
Explore the Thomas Rider Veldt collection and Hedon collection. For help comparing model, size and fit, email Thomas Rider. We will help you narrow the options; always confirm the final fit and manufacturer guidance before riding.